I have not been blogging very judiciously since starting a new job and my toddler starting a new school. The poor girl has been sick for more than a week and now my poor husband has gotten the flu bug too. Oh flu bug shoo! Don’t you hate it when the flu bug passes from one family member to another? Time to dose up on Vitamin C.Continue Reading
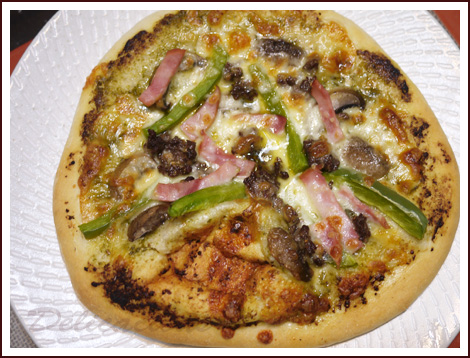
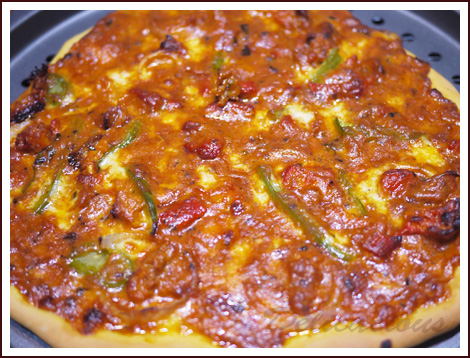
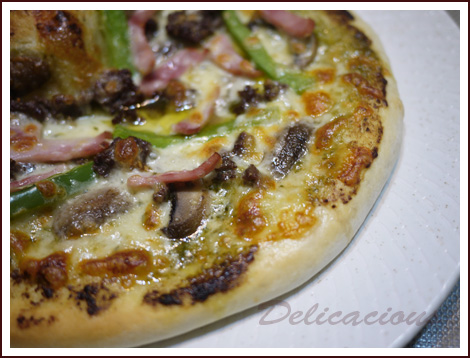 My husband’s favourite foods are pizza and baguette. Yes, he will survive very well in both France and Italy. Whenever the question of “what shall we eat today?” surfaces, his answer will likely be pizza. Our family may well be eating pizza every other day, if he has his way around things. Fortunately, he doesn’t.
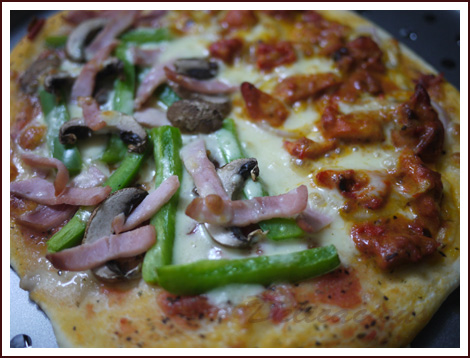

 Print recipe

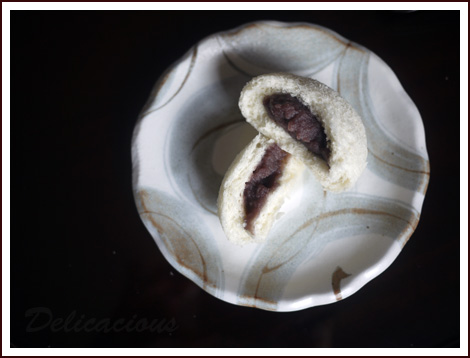
 Raisin Challah Loaf


